How to get started in Robotic Process Automation (RPA) with UiPath

What is Robotic Process Automation?

Robotic Process Automation (RPA) is the technology that allows anyone today to configure computer software, or a “robot” to replicate manual processed in an automated, repeatable and reliable manner.

There are free tools from RPA providers like UiPath, Automation anywhere and workfusion.

We make robots so people don’t have to be robots.

For this time, we choose UiPath Community Edition because the tool is simple to use.

1. Click Start Trial.

2. Choose Community.

3. Register or create your account.

When you have successfully signup, you would see the following options on the left of your screen

4. Click on Resource Center

5. Click on Download under the Community Edition

When the installation package has been downloaded succesfully in the Downloads folder. Click on UiPathStudio.exe to install.

You are ready!

In this exercise, we will do automation for batch convert word documents to PDF in UiPath

Run uipath studio

First create new process. Enter a name and description for the automation.

Click Open Main Workflow.

For this exercise, we will need to install UiPath.Word.Activities package.

Select the sequence flow.

Assign Activity

First activity is assign the input and output source folder.

Add variable “inputfolder” and “outputfolder” as string type variable.

Next step is to assign a variable directory.getfiles, this activity returns the names of files (including their paths) that match the specified search pattern in the specified directory.

We will use this activity to find the specified search pattern in the specified directory contains .docx files.

Set docxfile source as String array.

Next, drag For Each activity

For Each

The For Each activity enables you to step through arrays, lists, data tables, or other types of collections, so that you can iterate through the data and process each piece of information individually.

Set docxname as string for body scope

Next, find the word application scope from the activities tab, drag below the body and drag Export to PDF activity for the next step.

Click Run.

Voila… all the *.docx in the inputfolder converted to *.pdf.
How to install R on OS Sierra

What is R?

R is a free software environment for statistical computing and graphics. Information about R can be found from here.

How to install R?

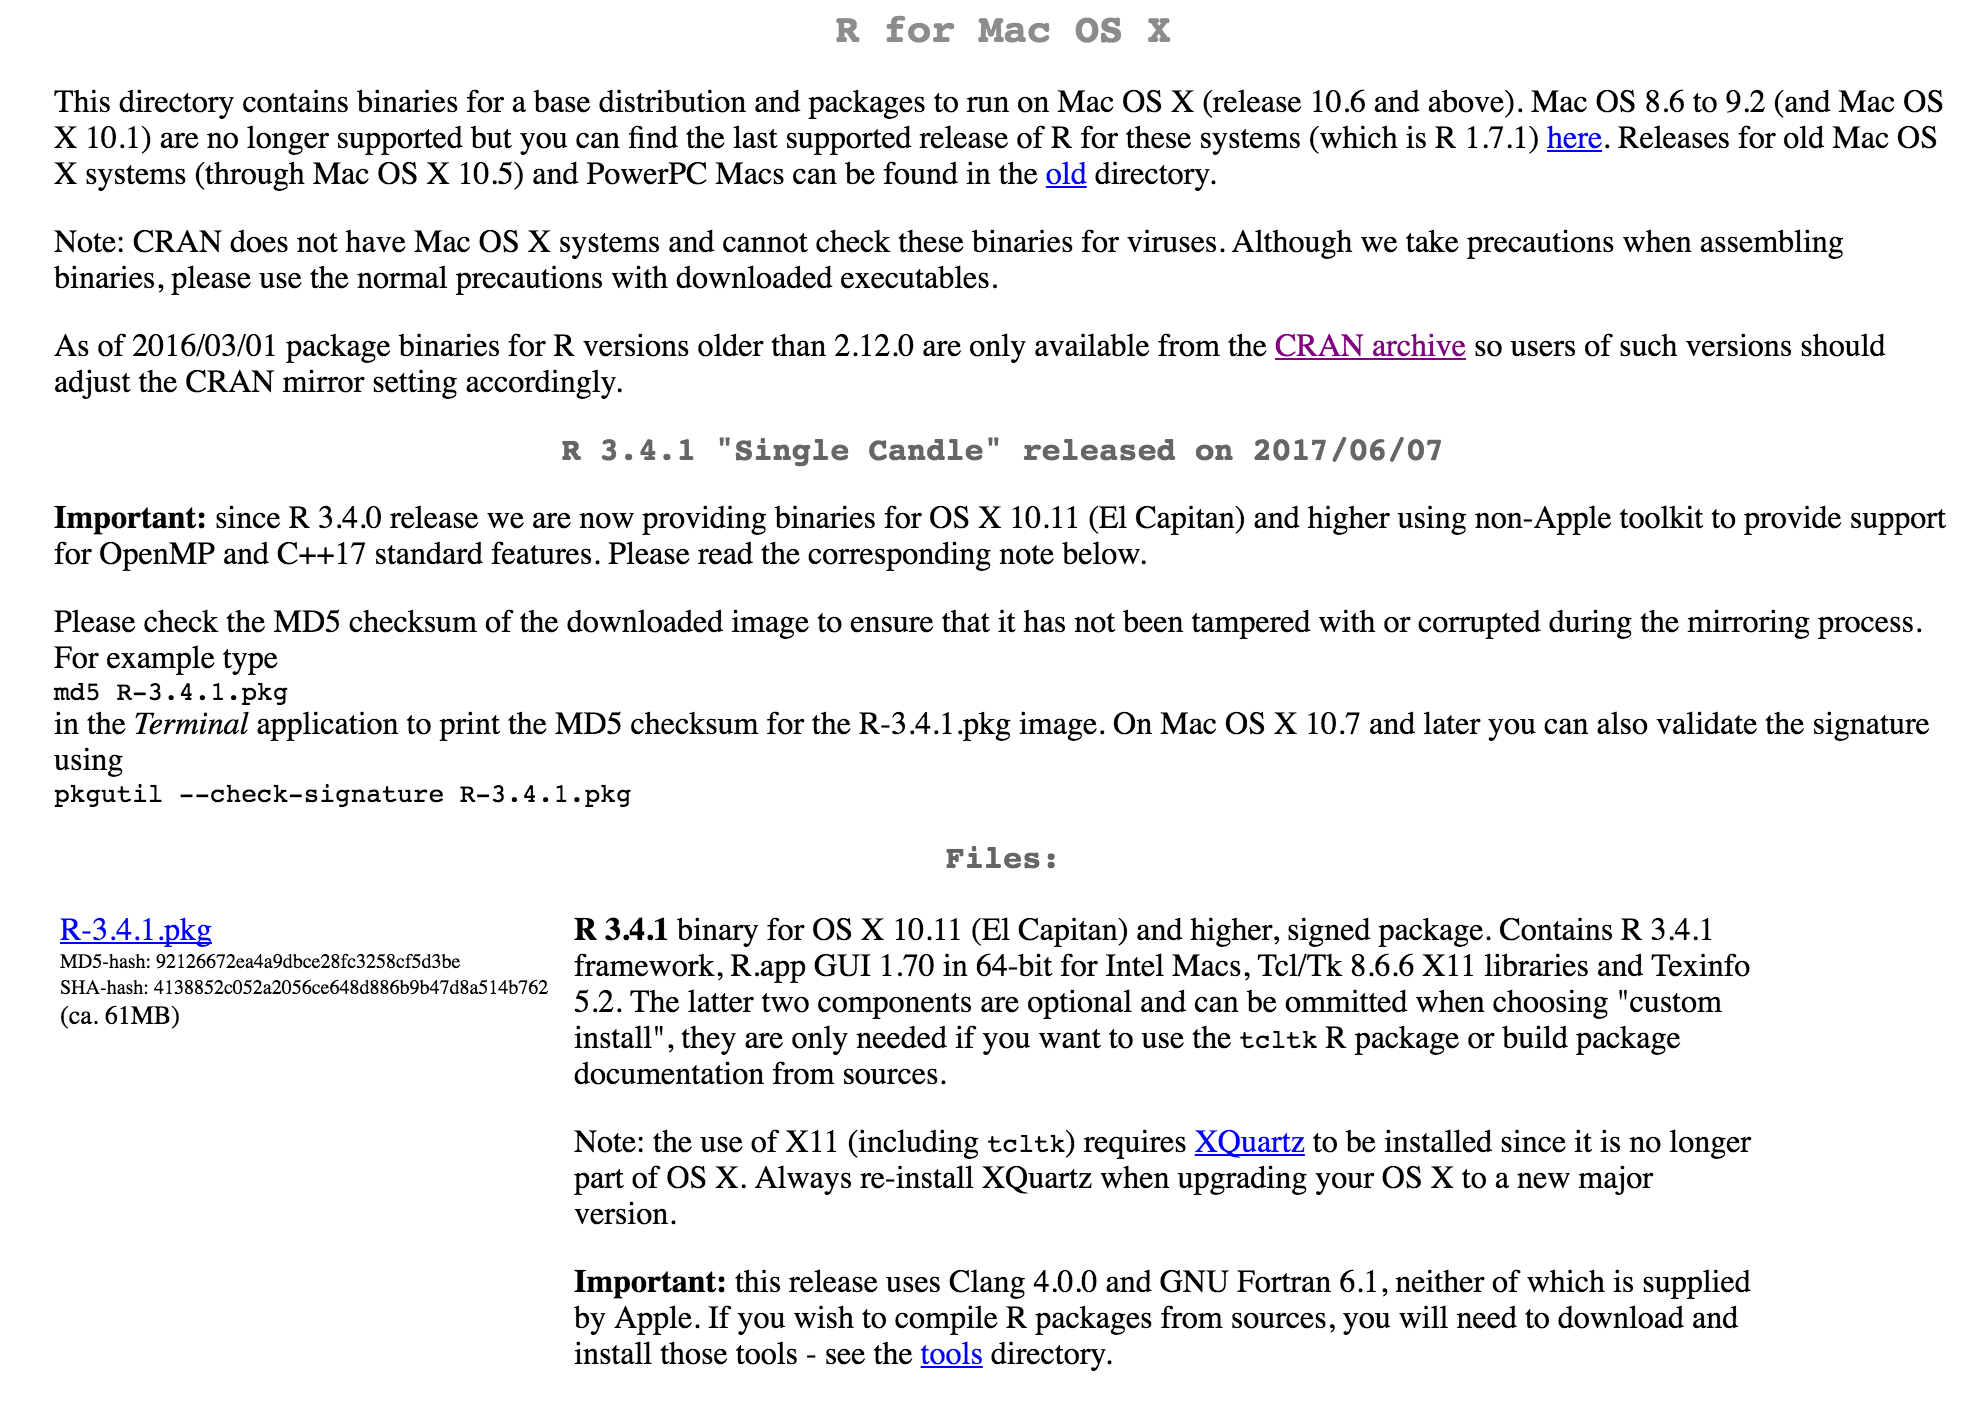
Go to the R website. To download R, please choose your preferred CRAN mirror. Choose which R package to download based on your operating system.

R for Mac OSX.png

For this tutorial, I was using the old version which is R 3.4.0. Download and run the package.

Introduction

readme

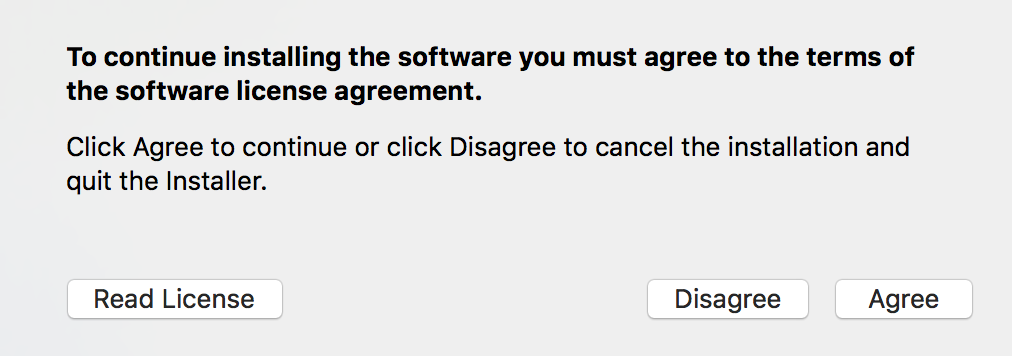
license

readlicense

summary

All done. You can start to use the software.


How to install Ruby on Rails on macOS Sierra 10.12

  1. Install Homebrew. Homebrew simplifies the installation of software on Apple’s macOS operating system. Open Terminal and run the following command:
    /usr/bin/ruby -e "$(curl -fsSL https://raw.githubusercontent.com/Homebrew/install/master/install)"
  2. Install Xcode. Xcode is a software package to help you develop iOS and OS X applications. You don’t need the full Xcode package to get the Command Line Tools. Check if the full Xcode package is already installed:
    xcode-select -p

    if you see:

    /Applications/Xcode.app/Contents/Developer

    it means the full package is already installed. If you don’t have it, type this command to install:

    xcode-select --install

    then will appear this :

    xcode-select: note: install requested for command line developer tools.

    An update popup window will appear to install the command line developer tools. You can choose to confirm by clicking “install”. Wait for the Command Line Tools package download to complete.


  3. Install Ruby. Run the following commands in your Terminal:
    brew install rbenv ruby-build
    rbenv install 2.4.1
    rbenv global 2.4.1
    ruby -v

    #ruby 2.4.1p111 (2017-03-22 revision 58053) [x86_64-darwin15]


  4. Install Rails
    gem install rails -v 5.0.1

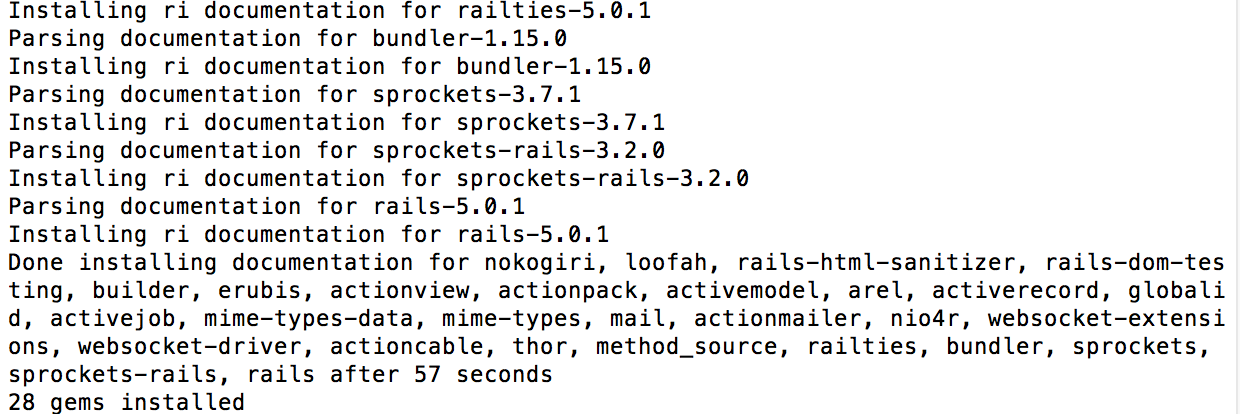
    installingrailinstallingrail2

  5. Execute the Rails with this command:
    rbenv rehash
  6. Verify Rails version:
    rails -v

    #Rails 5.0.1

  7. Setting up a database using mySQL
    brew install mysql

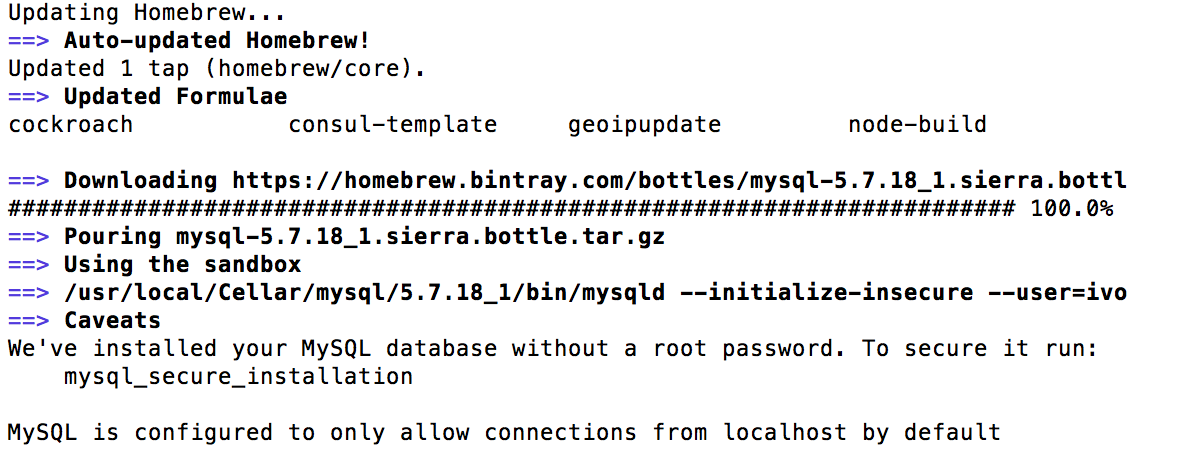
    installingmysql
    To have launchd start mysql now and restart at login:
    brew services start mysql
    Or, if you don’t want/need a background service you can just run:
    mysql.server start

  8. Final steps to create your first Rails application:
    rails new myfirstapp
    rails new myfirstapp -d mysql
    #move to the folder directory
    cd myfirstapp
    #Create the database
    rake db:create
    rails server
  9. Open your browser and type http://localhost:3000 to view your website.localhost.png

How to set up micro:bit and start your adventure

What is micro:bit?

micro:bit is a pocket-sized codeable computer with motion detection, a built-in compass and Bluetooth technology.

There are many micro:bit kit available out there. One of the samples is Tea Brewer Kit.

Please refer here for the instructions.

If you’re just getting started with the Micro Bit, we recommend you check out a few of the tutorials, uploaded by the BBC and its partners to the Micro Bit website.

OK. Let’s Get Started!

Connect the micro:bit to the battery holder and follow the instructions on the LED display.

  1. The LED display will light up, with the word “HELLO”
  2. The arrow signs pointing to the left button, and you’ll be asked to press the A button on the left, and next it will point to the right button, which is B button.
  3. It will display “SHAKE”
  4. CHASE THE DOT
  5. GREAT!. NOW GET CODING!

This sequence will run each time you power up until you upload your own program to it.

Now, it’s time to start making your own program.

You can go to www.microbitworld.me. There are lots of tutorials and information on the website. You can select your coding editor that you would like to code with.
codingeditor

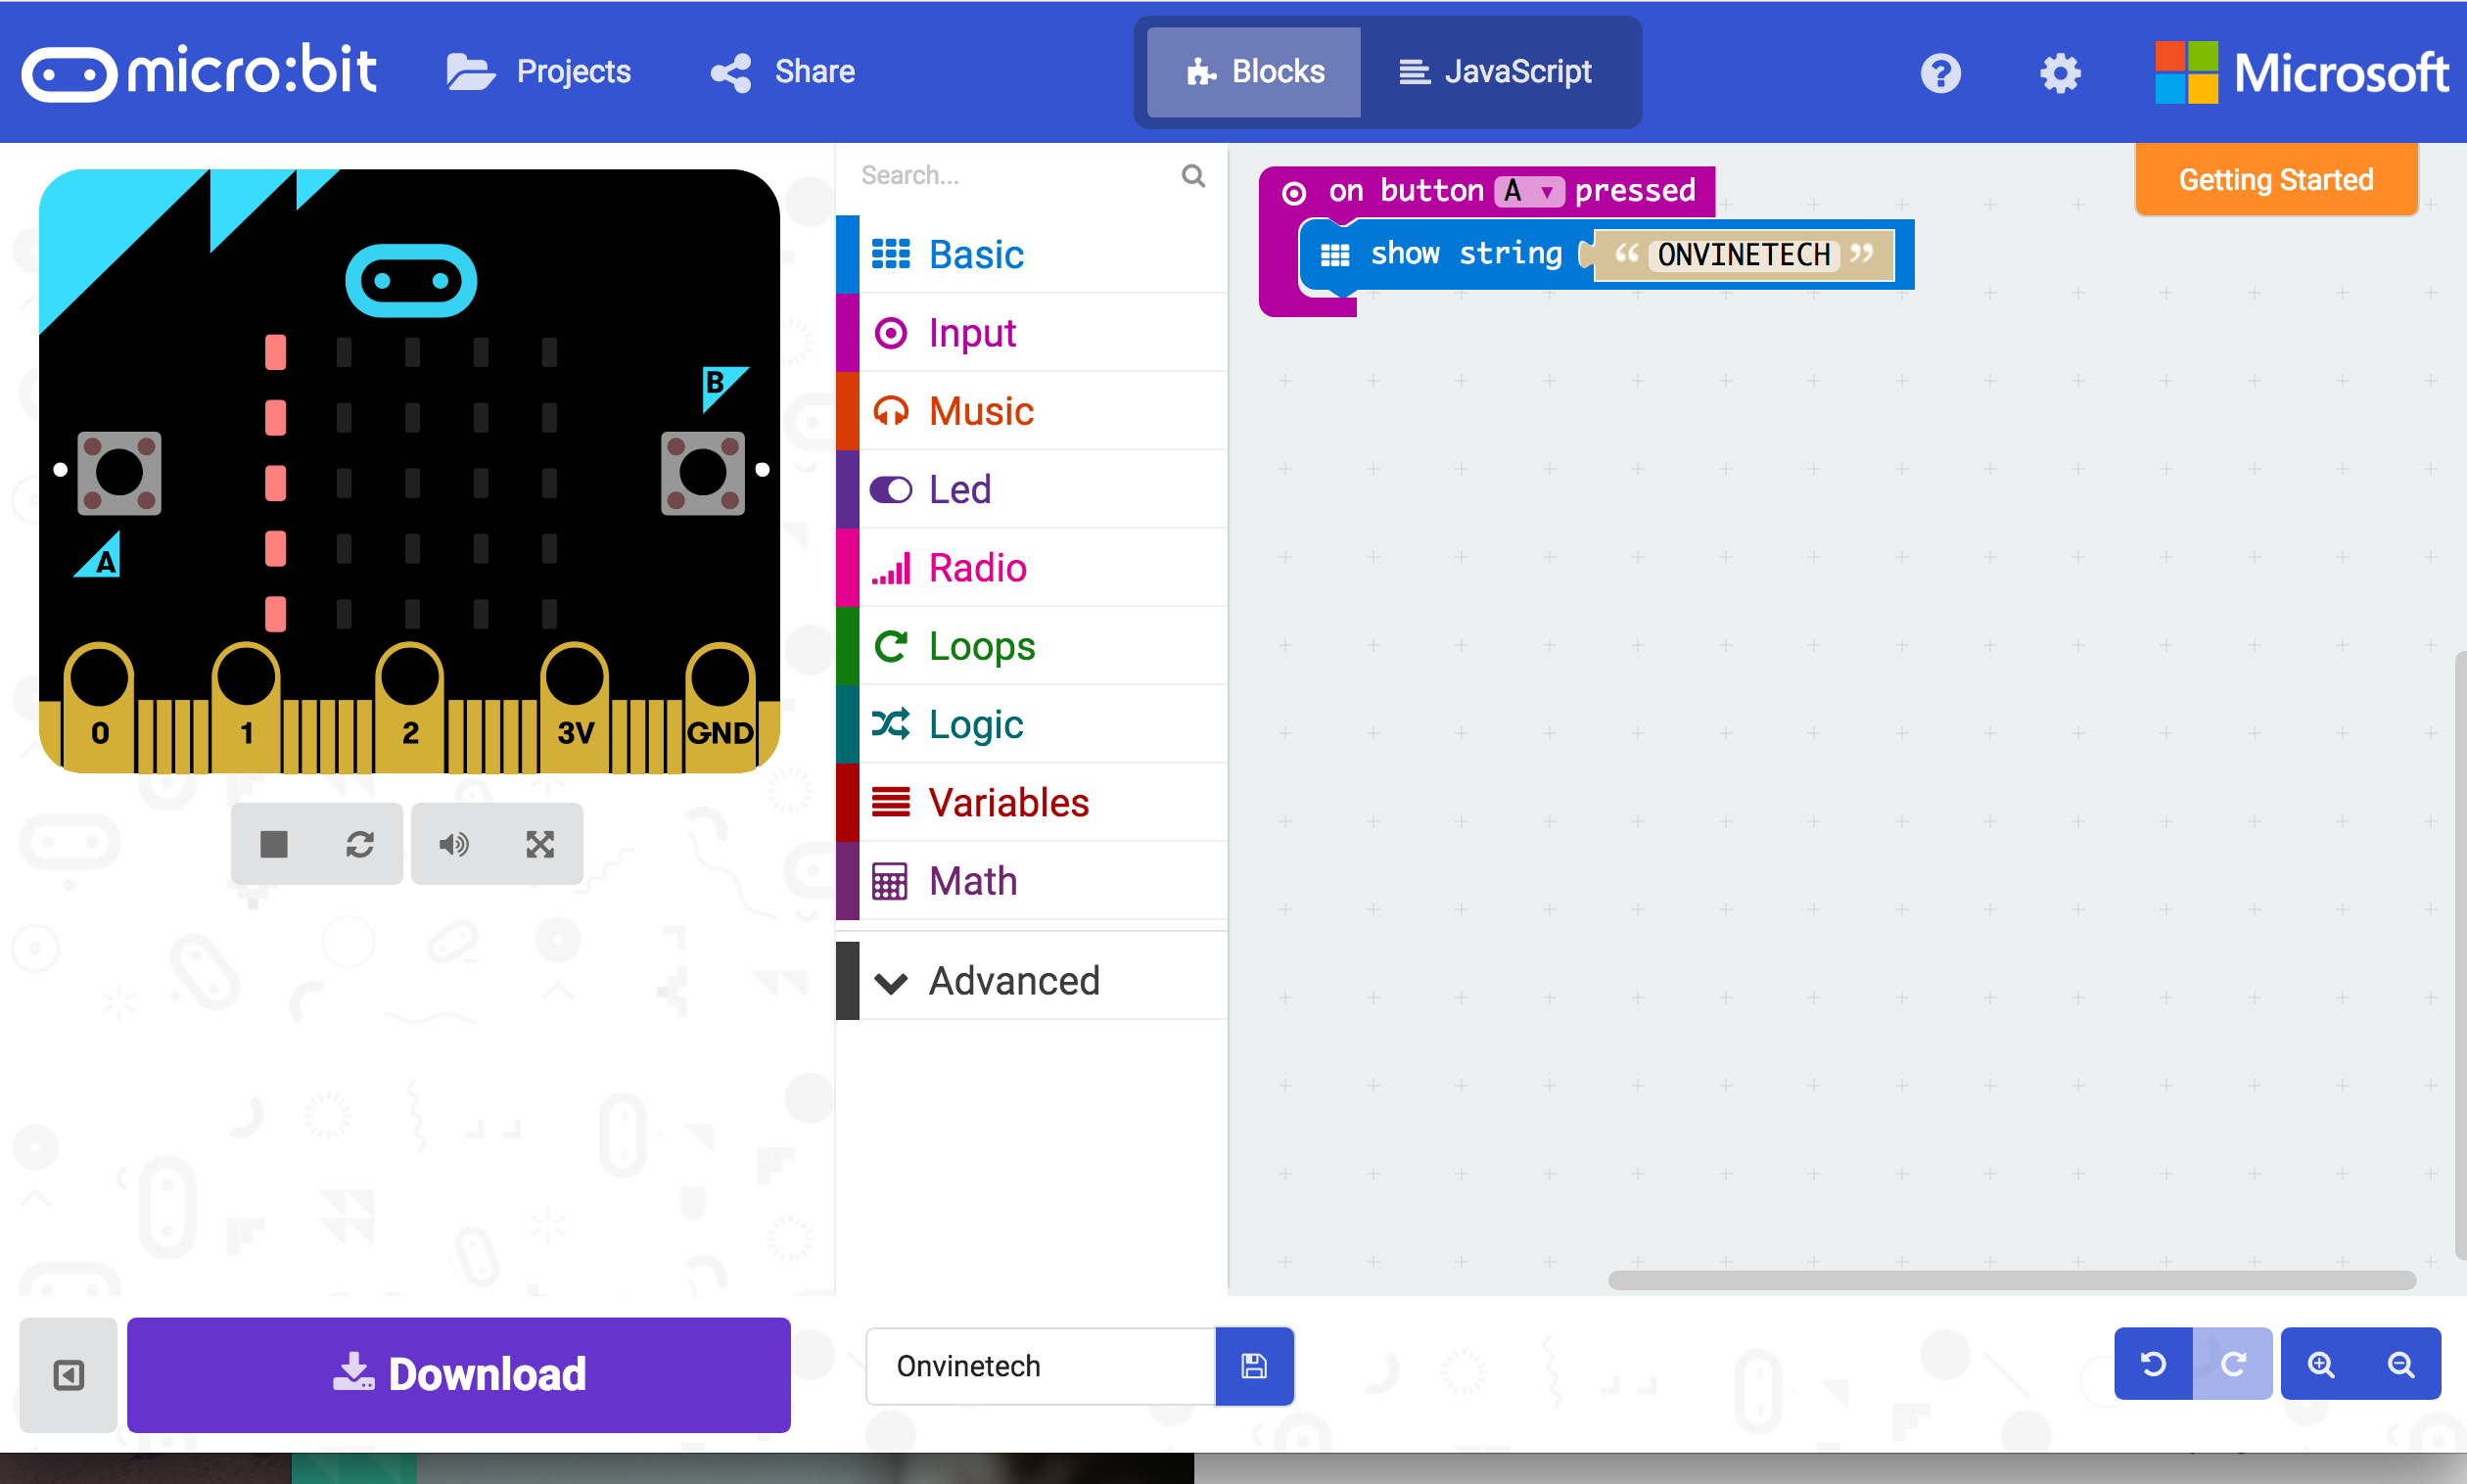
Let’s try to make a simple code to display word “ONVINETECH”.

  1. Open a web browser and type https://pxt.microbit.org/
  2. Click Input and drag “on button A pressed”
    input
  3. Click Basic and drag a Show String block from the sidebar to the stage
    showstringcode
  4. Click the A button on a micro:bit simulator.
  5. Give it a name and click save, it will automatically download the file to your “Downloads” folder.
  6. Open the Downloads folder click and drag .hex file into microbit drive.
  7. Disconnect it and press the A button, it will display the word “ONVINETECH” across the LED Display.

Let’s follow another tutorial from this website how to create a compass with “If Statement.”

The micro:bit has an on board compass. This compass has to be calibrated the first time that it is used, so that the readings that it produces are accurate. When you load a program into the micro:bit and your program tries to read from the compass, it will scroll the words ‘DRAW A CIRCLE’ on the screen. Hold the micro:bit horizontally and tilt it on the spot trying to fill in the circle, until all the dots are filled and then you see a smiley face. After you have done this, your program will run.

compasscode

Thanks for reading. Have fun and start to coding. Do share with me about your projects using micro:bit.

It’s all about Snapchat

There is a popular mobile app today that allows you to send videos and pictures. Yes, you’ve probably heard someone mention the Snapchat.It’s an app that truly changed how people interact with friends compared to Facebook. It’s popular among the youngest smartphone users and it’s also a fun messaging app.

snapchat

While each Snap can just be an image, you can use Lenses, Filters, Geo-Filters, Stickers, Emoji, text and a drawing tool to personalize them more.

For iPhone user, you can download it from here, and for Android user, you can download it from here.

One of the most unique things about Snapchat is, photo and video will disappear a few seconds after they’ve been viewed by their recipients.

How to create a Snapchat account

  1. Launch Snapchat
  2. Tap Sign Up
  3. Enter your name and tap Sign Up & Accept.
  4. Enter your birthday
  5. Pick a username
  6. Enter a password
  7. Enter your email address.
  8. Verify your phone number
  9. You are ready to go to use the app.

How to use Adobe XD CC beta version

What is Adobe Experience Design CC?

Have you ever imagine if you have a client that ask you to design mobile apps, website or anything else with interactivity and then traditionally maybe you are using illustrator, photoshop or event third party apps to design it, then you have to show it to a client’s and ask them to imagine if you will click this button it takes you to this page.

Then now, Adobe is building an application that actually lets you, not to only design it but actually put that interaction so your clients don’t have to imagine if they click this button it goes to other pages that can actually click and go to that page.

It’s not an app builder, it’s not a web builder it doesn’t write HTML, and didn’t write any code at all. It just basically allows you to create your design very similar to what you would do in photoshop or illustrator and then let you prototype or send your designs as a working model to your clients. That’s what Adobe XD is.

Let’s take a look at how it works.

    1. Create the new project.

      welcomescreen.png
      Welcome screen Adobe XD beta version

      You can start with a mobile phone with a prompt to default to an iPhone 6/7 but you can switch to different iPhone, you can switch to an iPad or Web or you can choose a custom size.

      The workspace is divided into two views, Design and Prototype. In the design view, you can use a number of tools and features to create design layout, add artboards and import resources from other applications.

      In the Design view, you can use a number of tools and features to create design layout, add artboards and import resources from other applications.

      In the Prototype view, you can link between artboards (pages) and define the relationship between them through interactions.

      Once it’s done, you can preview it by clicking the play button on the top right.

    2. Choose the artboard, for instance, iPhone 6/7.
    3. Setup the Welcome Page, click rectangle icon from the Tools panel on the right. If you want to make the round edge, click and drag the dot inside the rectangle. Click File > Import, choose any picture for your background.
    4. Build the content area, repeat the same step.
    5. Add the Content.
    6. Creating content.
      You can create multiple contents without duplicating them manually. Click Rectangle, then click repeat grid button in the properties panel. You can drag the grid to the right or bottom.ss_okinawa_grid.png
    7. Build the linkage between pages. In order to link between the pages, select the page, click on the blue arrow to the right page. The target floating menu appears; select the target page, and set the transition animation type (for example “Dissolve”). Repeat this step to link between the other pages.linked
    8. There are two main methods to preview it. First, is the preview feature within Adobe XD itself just click the play button. Second, you can preview it from your device connected via USB.preview.png
    9. You can record your prototype which allows you to record the flow between pages and save to .Mov format.
    10. Sharing the prototype.We’re done! Now we can share the prototype with other team members who aren’t necessarily using XD. Just click share and copy the link and shared between team members.You can see the sample from here

Tips for Mac OS-X user

  1. Adding a signature to your picture. Open a picture in Preview and click Tools->Annotate ->Signature ->Manage Signature.
    Follow the on-screen instructions to add a signature. You can save your signature for future use as well.

  2. You can get exchange rate and convert currency with Spotlight in El Capitan. The currency conversions are done with Calculator app by gathering exchange rates from Yahoo, but the data is obviously aggregated into Spotlight for convenience.converter.png
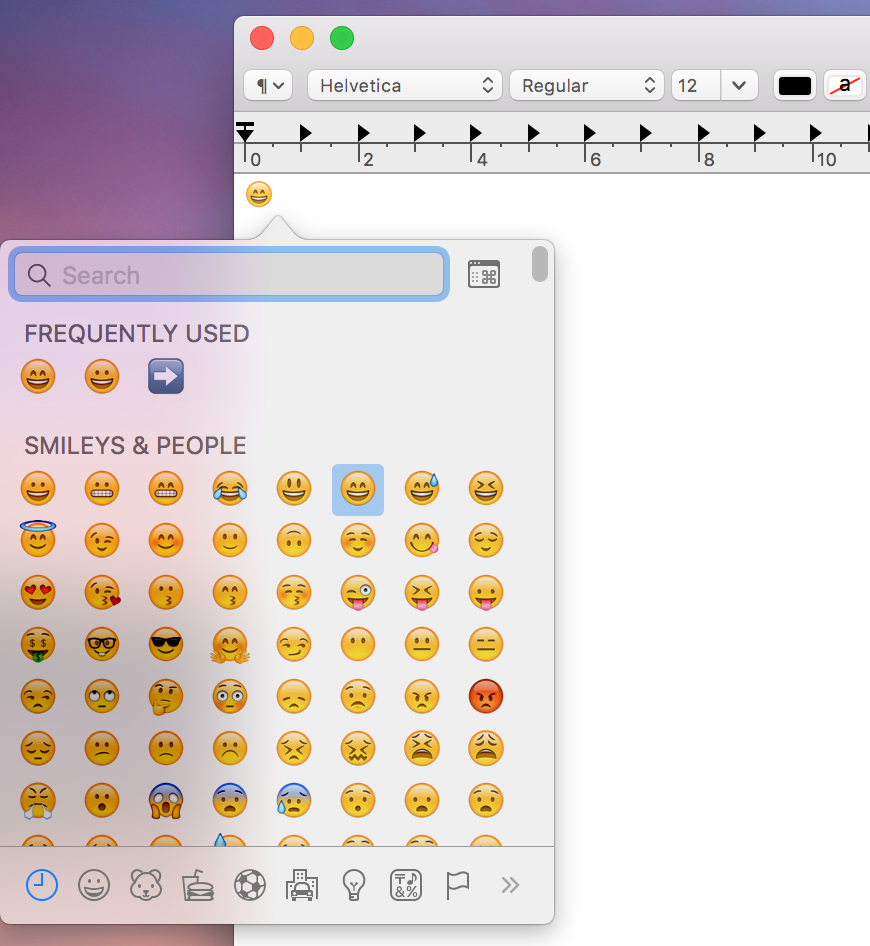
  3.  Built-in emoji Press ctrl ++ space to open the window. This window contains an exhaustive list of special characters. You can choose the special characters and emoticons that you need from this window.emoji.png
  4. Speech to text conversion you can convert your speech-to-text by pressing the function (fn) key twice and begin speaking. Your voice gets converted to text when you press function (fn) key one more time. The OS X types out as you speak.speech.png
  5.  Hot Corners.
    You can enable hot corner setting from System Preferences -> Desktop & Screen Savers ->Screen Saver Tab -> Hot Corners
    There are 9 options you can select of Start Screen Saver, Disable Screen Saver, Mission Control, Application Windows, Desktop, Dashboard, Notification Center, Launchpad and Put Display to Sleep.hot-corners

The Nokia 3310 is back and so is Snake

At the Mobile World Congress in Barcelona, Nokia just announced the 3310 phone again.

nokia-3310-beautyshot

It comes in four distinct colors: Warm Red and Yellow, both with a gloss finish, and Dark Blue and Grey both with a matte finish. What’s best, the color runs through the material, so it looks better for longer.

Nokia is claiming the battery standby for up to a month, it has 16 MB storage plus a MicroSD card slot with support up to 32 GB, 2MP camera with LED flash for simple snaps, and it’s charged via microUSB, so there’s no need to carry the old Nokia charger.

It does have a removable back cover and battery and runs an updated version of the original’s S30 software. The software behaves so much like the original and followups you might think you were caught inside some sort of time loop.

Based on their website, each handset costing around 49, these are global average estimated retail prices and local prices will vary depending on duties, taxes and currency exchange rates. 

Don’t forget about the legendary Snake. It’s back with a little update that makes it even more fun to play on the color screen. The new version of Snake ready to entertain.

Hope you enjoy it.

The Secret Lego Batman with Siri

The Lego Batman Movie is back and insanely popular. Really.. It was awesome!! In the movie, the voice of Batcomputer is voiced by Siri. So now you know that you can try it at home too.

Here’s a secret, whenever you say “Hey Computer”  or “Puter” to Siri, Siri will respond to you as if you are Batman.

Here are a few funny responses I’ve got. They do repeat randomly, so you just have to say “Hey Computer” a few times to get them all.

“Hello, sir. I’ve heated up your lobster thermidor in the microwave. I’m one step ahead of you, Alfred.”

“Hello, sir. Alfred is on the 17th floor, caulking the tiles in the second bathroom of the fifth master bedroom.”

“Welcome home, sir. I have your rom coms queued up, sorted by decade.”

Give it a try on your own iPhone, and let me know what kind of responses you get from Siri in the comments section below.

Have Fun!!!


WhatsApp New Feature

WhatsApp reinventing the Status feature. The new Status feature lets you share photos, videos, and GIFs on WhatsApp in an easy and secure way. Status updates are end-to-end encrypted and disappear after 24 hours.

Here’s what you need to know about the new feature.

You just have to update the software from the App Store for IOS or Play Store for Android.

If you haven’t get the Status menu, you just have to restart your phone.

For iPhone user, the Status icon show on the left side like the picture below.

For the Android user, the Status menu placed between Chats and Calls menu.

Here’s how to update your Status:


Click My Status or the icon circle with +, tap the camera icon, take a photo or video or pic one from your camera roll.

You can draw, place emoji, write text on the photo, and tap the paper airplane icon. You can send your status directly to a friend too.

For Status Privacy, you are given three options:

  • My contacts
  • My Contacts except
  • Only share with

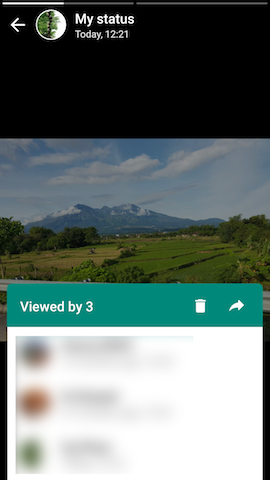
There’s a view counter at the bottom of your screen showing you how many people have watched or looked at your status.

viewed-by

Your Status will remain active for 24 hours after that it will disappear. So Go ahead and try posting your status now!